How do I Improve the Picture from my Bird Box Camera?
Bird box cameras are a perfect way for families or school classes to watch eggs hatch and chicks grow in the nest. The tiny size of the cameras, however, does create some limitations for the quality of the picture. As an example, our most popular camera – the Green Feathers wireless camera – will often transmit images with a strong purple colour. This is not a fault, as it is caused by the colour imaging sensor picking up the invisible infrared LEDs that the camera uses for night vision. Similarly our more advanced Green Feathers will switch to a black and white mode when the night vision is on, preventing you from seeing the birds’ colourful feathers.

In both of these cases, this is simply happening because there is not enough light inside the bird box for the camera to work without having to resort to night vision. This can even be the case in boxes that have translucent windows to let in light. Luckily, we have teamed up with wildlife camera experts to put together a simple, bird friendly solution.
Let there be light!
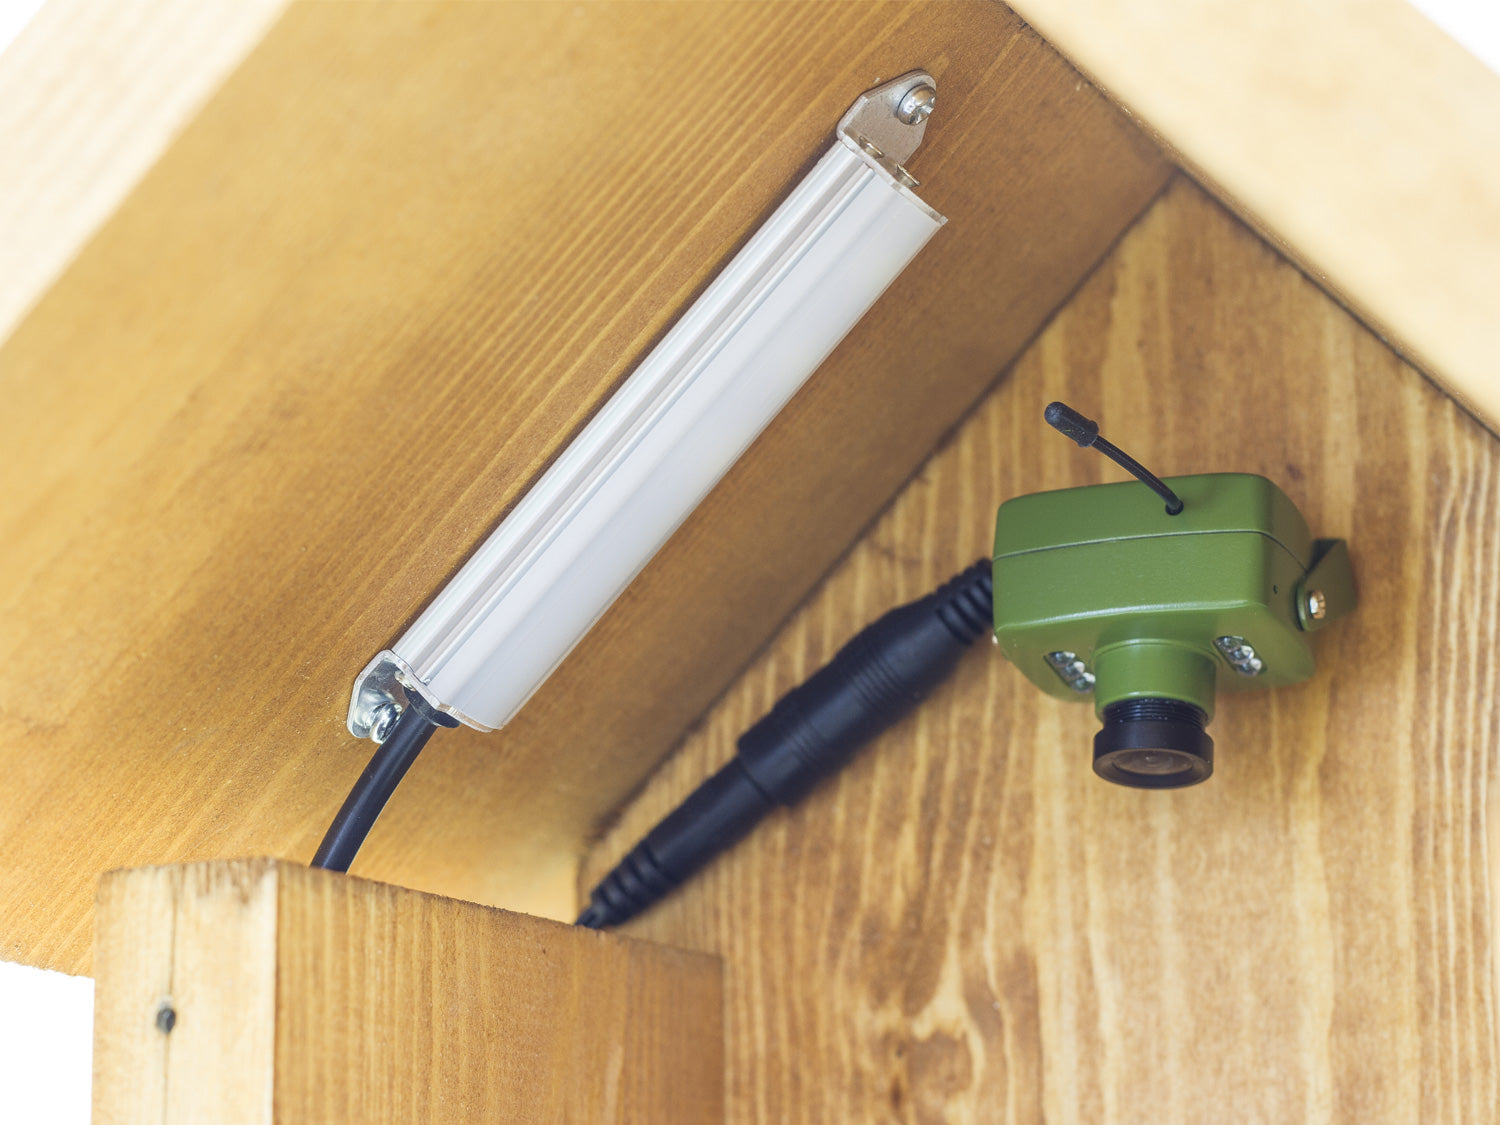
The result of extensive development with our product team, we can now offer a compact daylight LED lamp to fit right inside of the box. The light uses 3 energy efficient LEDs with a 120 degree wide area of illumination to make sure the entire interior of the box is illuminated. This extra light is enough to reduce the strength of the purple cast in the image, and let the camera record more natural colours. For the IP camera models, it provides enough light to prevent the camera having to switch to night vision.
But won’t that disturb the chicks?
This is of course an important question, so this is where things get really clever! The LED features a photo-sensor on the end of one of the cables which is designed to detect ambient light levels on the outside of the box. When the light falls below a certain level, the LED inside the box will but out. This means that the light will not turn on during the night, but ensures that the inside of the box keeps a natural day/night light cycle. Because of this, the chicks won’t be disturbed in the night, and will keep their natural sleep cycle. The LEDs are also incredibly efficient, so will not get hot when turned on.
How do I wire it up?
There are two ways to do this, depending on the voltage that your camera uses:
- 8V cameras like our wireless bird box camera don’t use enough voltage to power the LED themselves. Because of this, you will have to use it with a separate 12V mains power supply. There will then be two power cables running to the bird box. Make sure you get the right cables! 12V and 8V devices often have different sized plugs!
- 12V cameras such as our Wifi bird box camera use enough voltage to power the LED as well. With these cameras you can set them up with “inline” power. Just wire them up so that the power is going in to the LED, and then from the LED’s output to the camera. This means you only need one power cable running to the bird box.
How do I install it in the box?
There is no one “correct” way to install the light, provided it is near the top of the box for wide coverage, and is not located right behind the camera (the will create a strong shadow). In smaller, cramped bird boxes, it might be tricky to screw the bracket into the wood. In these cases, a strong adhesive would still work fine. Another popular method is to screw the lamp onto a small baton of wood, and then glue this to the inside of the box using wood glue.

